
Zoho Mail is a powerful email service suitable for various organizational sizes. It allows users to create domain-based email addresses, providing enterprise-grade email hosting features.
Zoho Free Account Limitations and Requirements:
The free Zoho account supports up to five users under its Forever Free Plan, offering each user 5GB of storage space. Additionally, this free version is limited to a single domain name. To set up a Zoho Mail account, a domain name you own and a valid phone number are required for account verification purposes.
How to Signup for Zohomail:
Signing up for a free Zoho Mail account involves a few straightforward steps. Firstly, visit the Zoho Mail website and choose the Sign-up for Free option. Provide your details, including name, mobile number, password, and contact email. A verification code will be sent to your mobile for confirmation. For domain setup, either add an existing domain or purchase a new one through Zoho. For detailed guidance, refer to Zoho's complete setup guide here.
Once you have signed up for Zohomail, configuring Zoho Mail with cPanel is streamlined. This article details the steps to integrate Zoho Mail with your domain using cPanel's DNS management tools, offering a robust alternative to services like Google's Workspace.
Let's walk you through setting up Zoho Mail for your domain, focusing on DNS record configuration and email routing in cPanel.
Domain Verification and DNS Record Configuration
To configure your domain's email to run through Zoho Mail, you need to update certain DNS (Domain Name System) records for your domain. Below is a table that outlines the essential DNS records you need to set up for Zoho Mail:
| Type | Host Name | Value | TTL |
|---|---|---|---|
| MX | @ | mx.zoho.com (Priority 10) |
1 Hour |
| MX | @ | mx2.zoho.com (Priority 20) |
1 Hour |
| MX | @ | mx3.zoho.com (Priority 50) |
1 Hour |
| TXT | @ | v=spf1 include:zoho.com ~all |
1 Hour |
| TXT | (selector)._domainkey | v=DKIM1; k=rsa; p=[YOUR_DKIM_VALUE] |
1 Hour |
| CNAME | zb****** | zmverify.zoho.com |
1 Hour |
| CNAME | (optional) | Custom subdomain for accessing Zoho Mail services | 1 Hour |
Step by Step Process:
a. Verifying Domain Ownership
To verify domain ownership, you have options like TXT and CNAME records:
i. TXT Records Verification
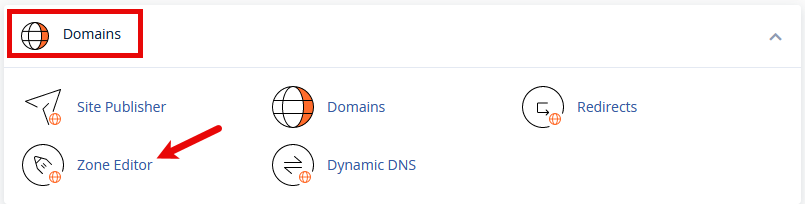
- Login: Access your cPanel account.
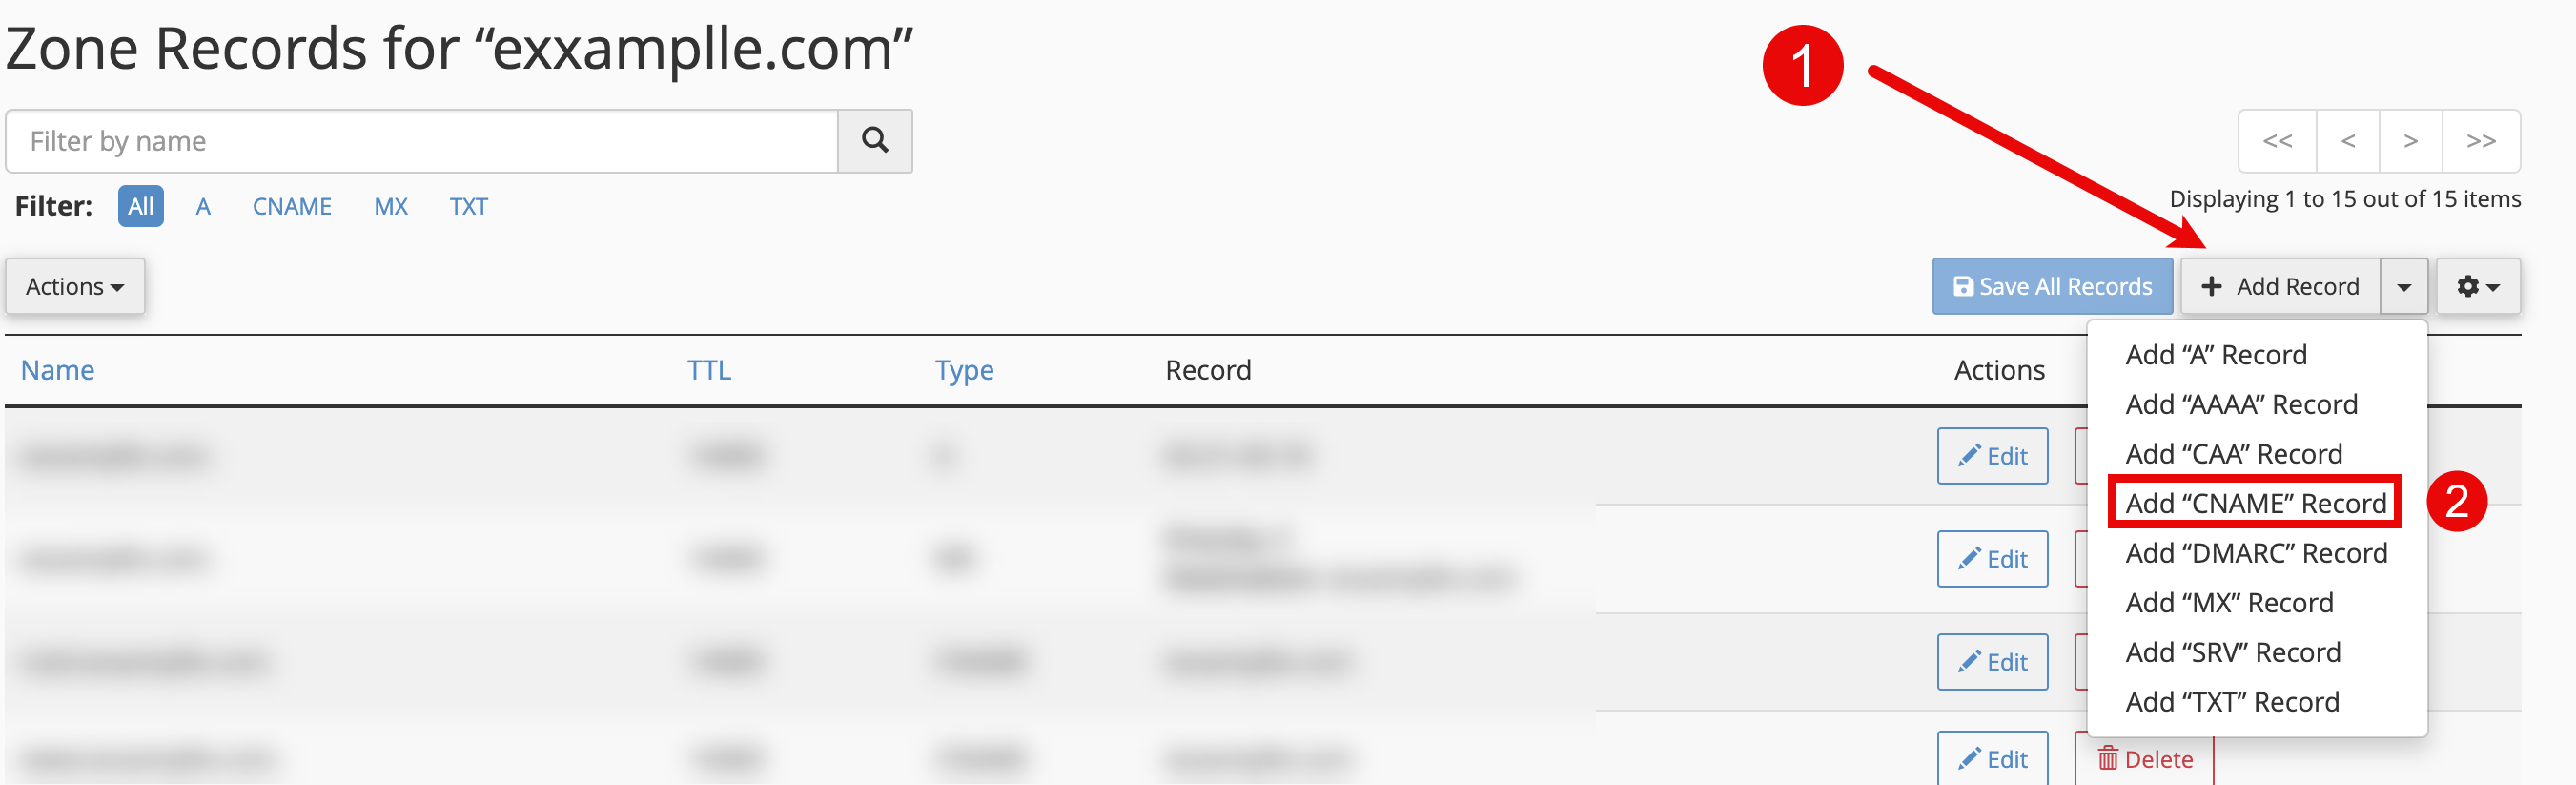
- Navigate: Go to DNS Zone Editor under Domains.
- Note the TXT Record: Copy the TXT record from zoho to enter in the cPanel's Zone Editor:

- Add TXT Record: Input details provided by Zoho Mail.
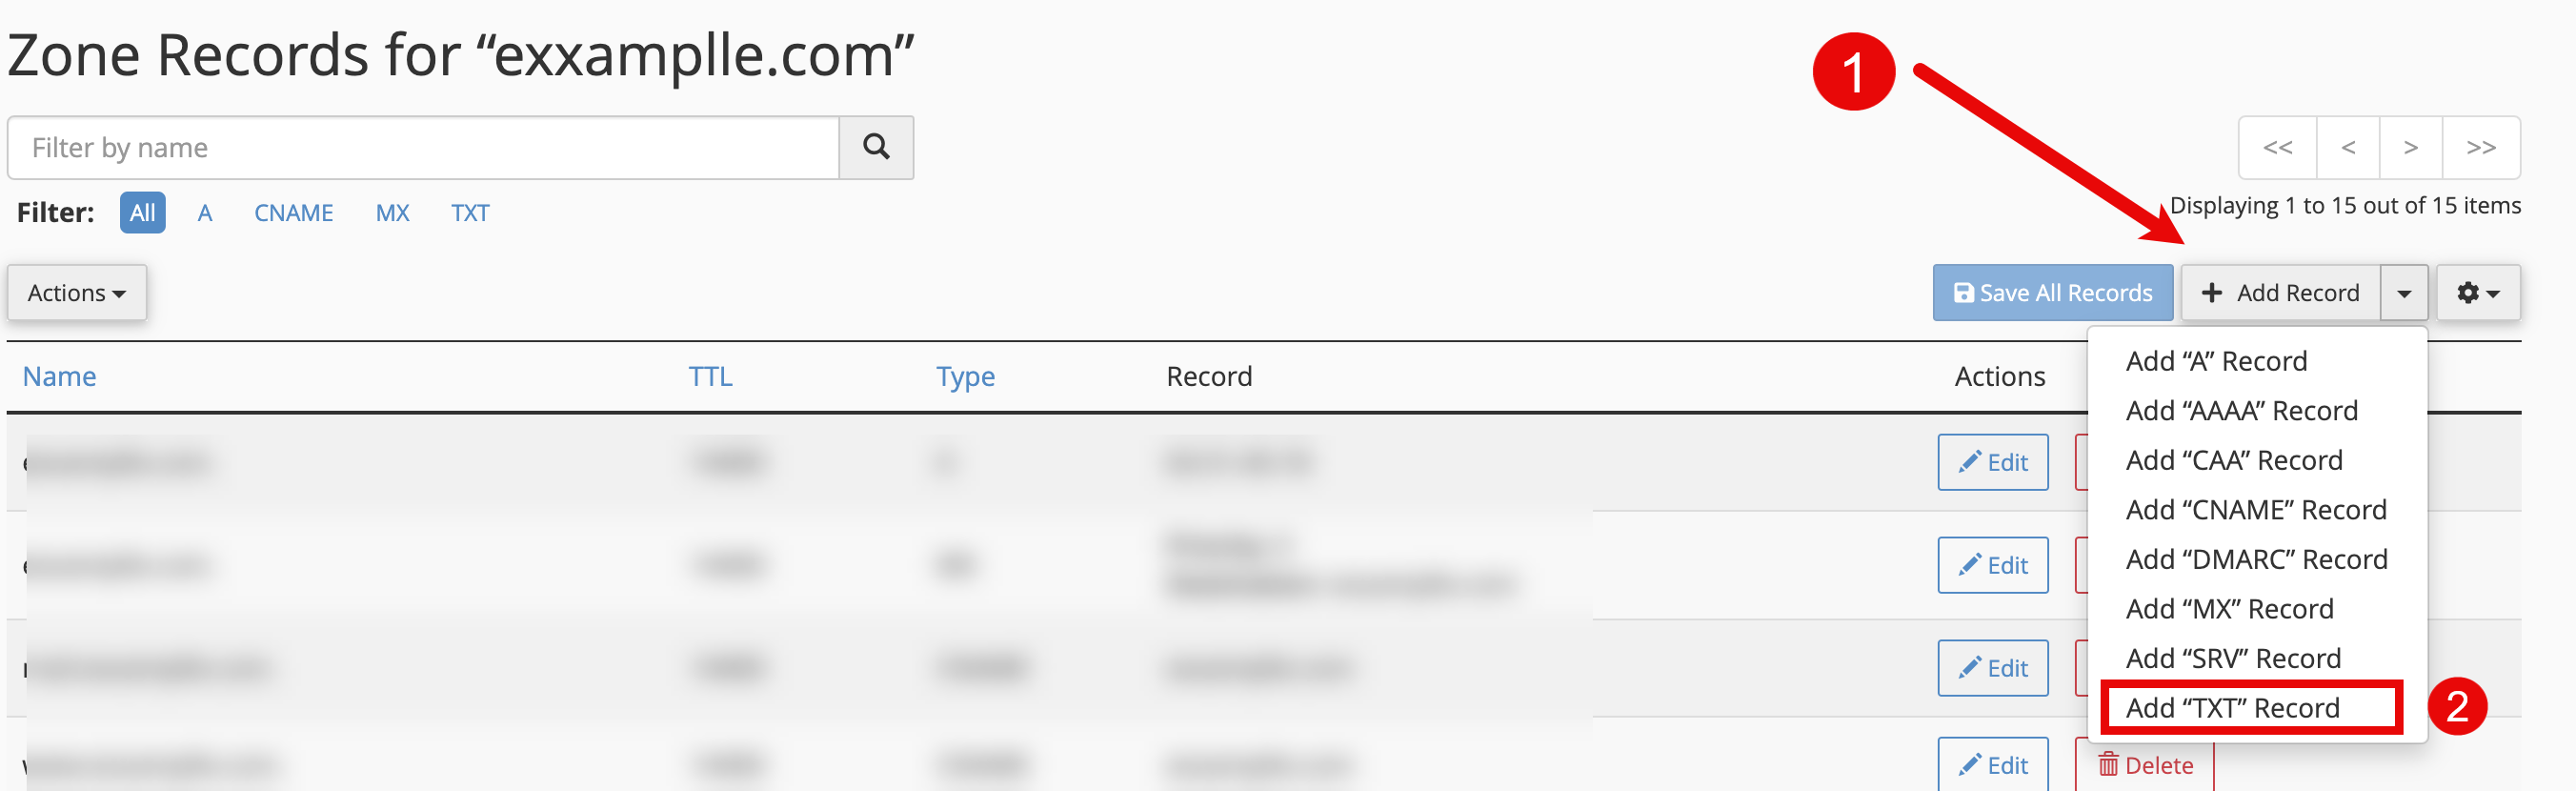
- Enter TXT Record: Input the TXT record as specified below:
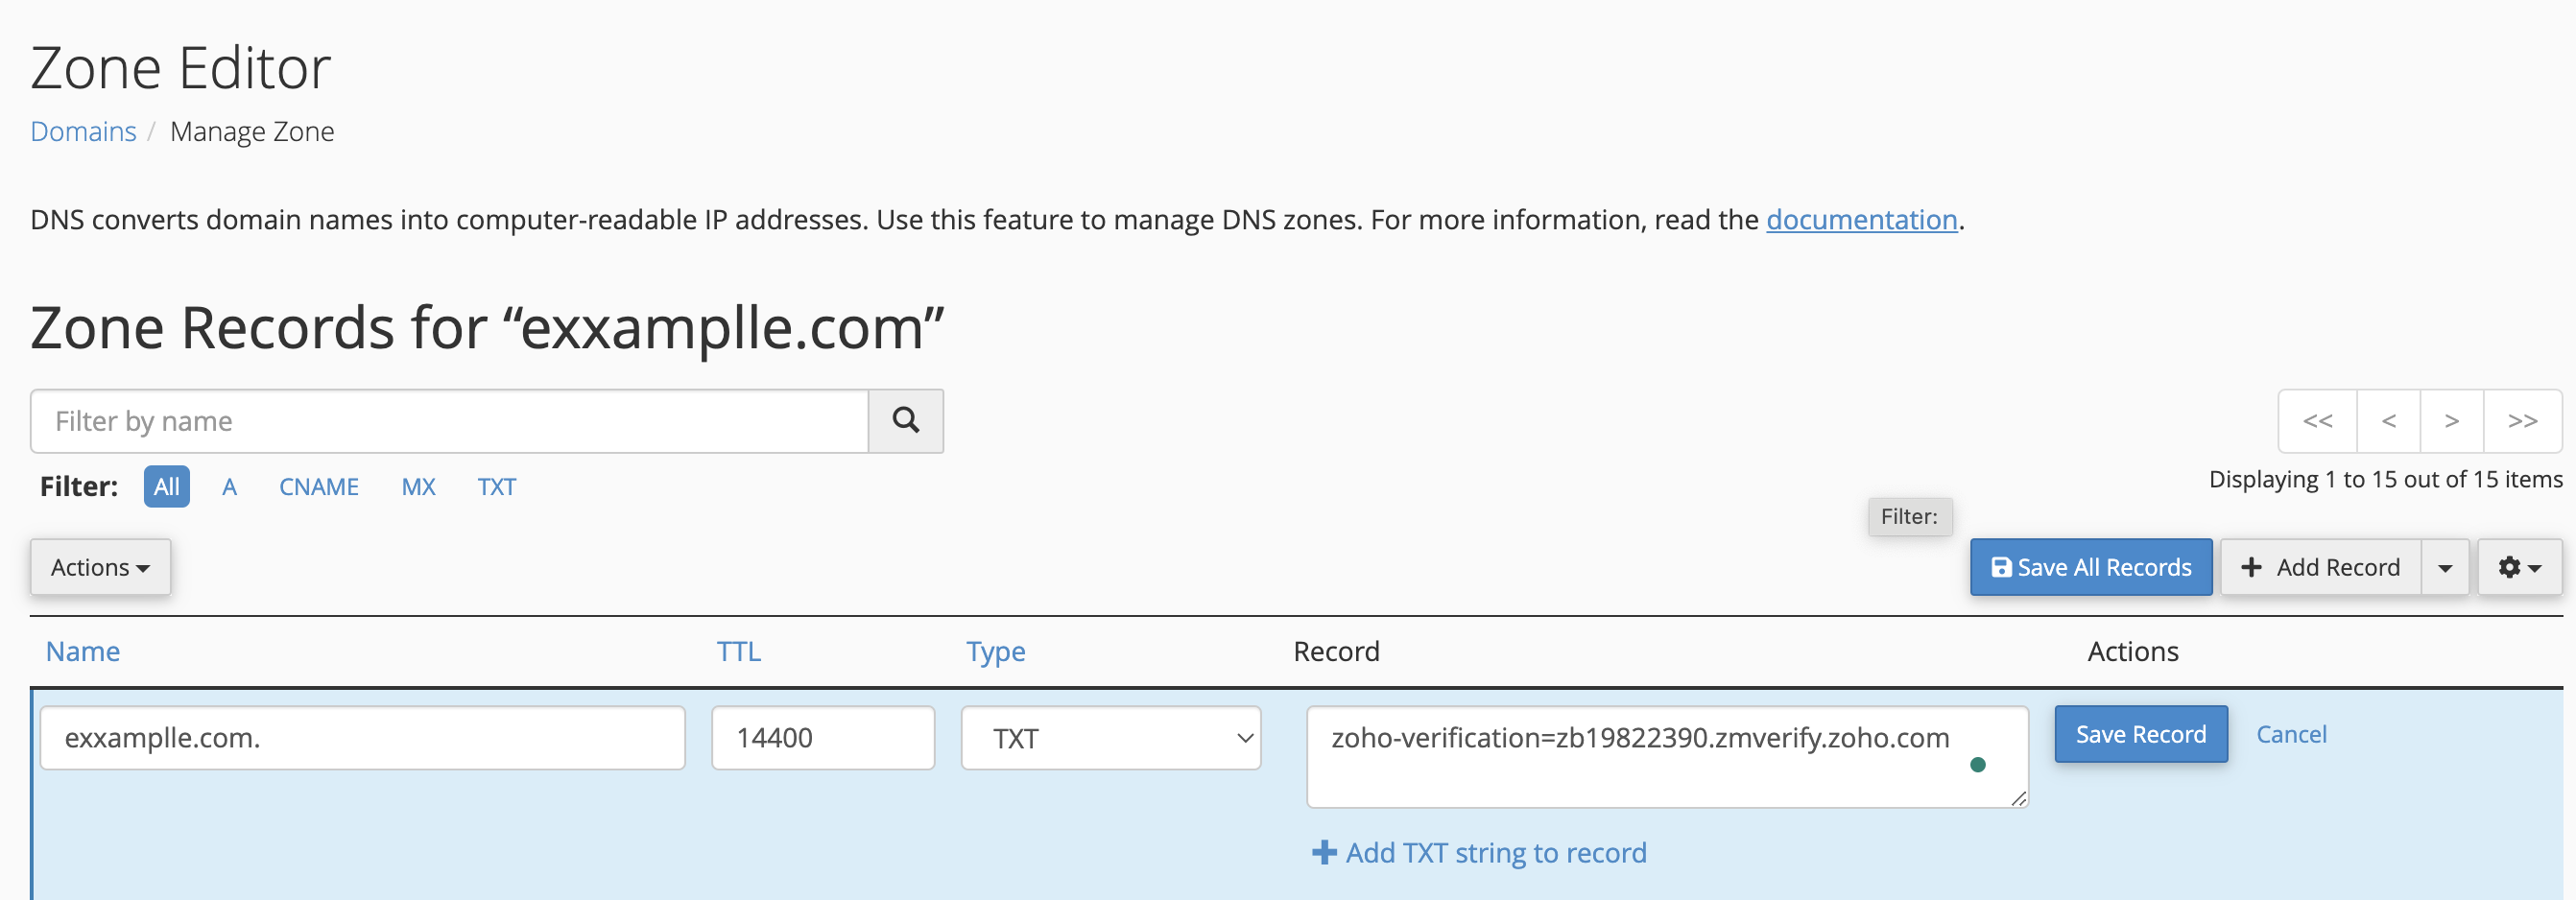
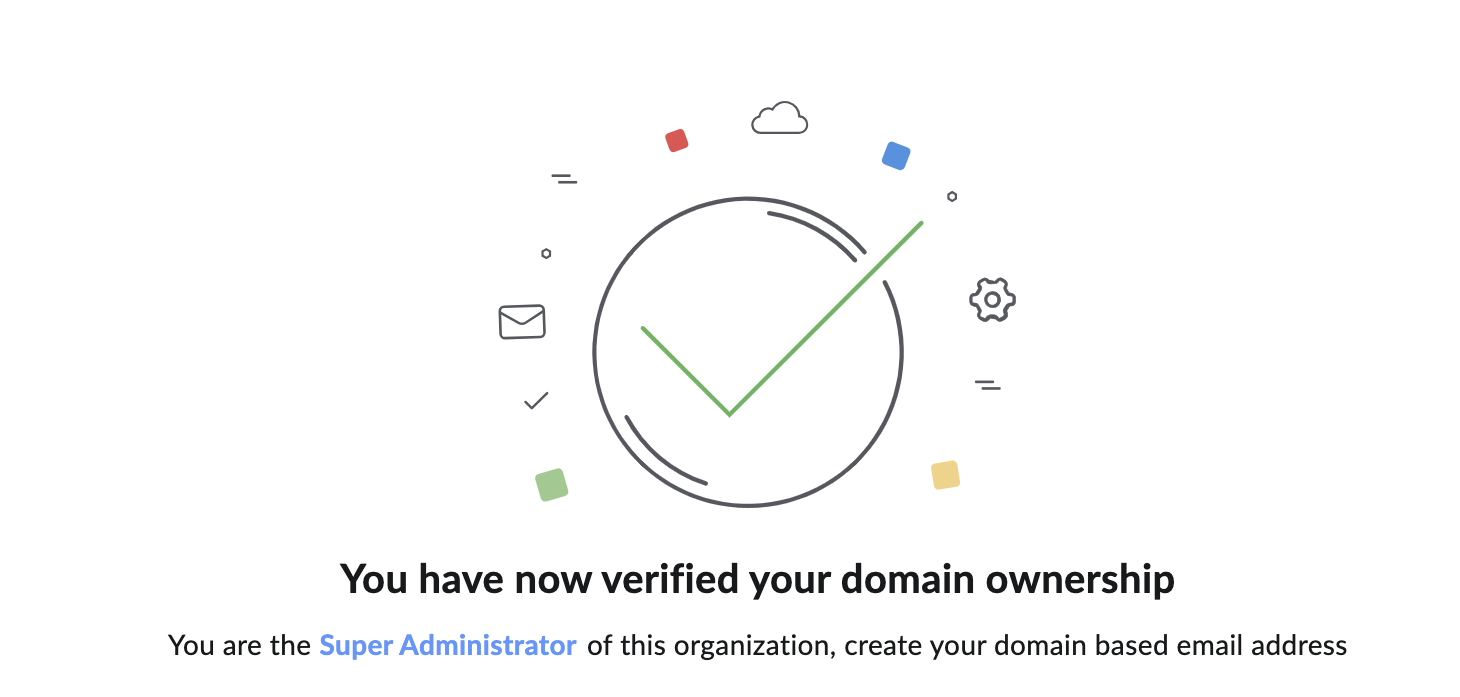
- Verify: Once you have added the record, click on the "Verify TXT Record" and you should get get the following message.
ii. CNAME Records Verification
- Choose CNAME: Enter zbcode and provided CNAME value.
- Verify: Check the Zoho Mail Admin Console domain after DNS propagation.
zb****** part should be replaced with the actual code provided by Zoho.b. Configuring Email Delivery
For emails to be received in Zoho Mail, update your MX records:
- Update MX Records: In Zone Editor, add MX records (e.g.,
mx.zoho.com). - Set Priorities: Assign the correct priorities for each MX record.
- Remove Conflicts: Delete MX records from former email providers.
c. Adding SPF and DKIM Records
SPF and DKIM records are crucial for email security:
- SPF Records: Add a TXT record for SPF (e.g., "v=spf1 include:zoho.com -all").
- DKIM Records: Add a TXT record for DKIM (e.g., "zoho._domainkey" with the provided DKIM value).
(selector) with your specific DKIM selector and [YOUR_DKIM_VALUE] with the actual DKIM value provided by Zoho.d. CNAME Record for Authentication
- Login to cPanel: Navigate to "Zone Editor" in "Domains."
- Add CNAME Record: Use "ZB" as the Name and "zmverify.zoho.com" as the CNAME value.
e. Updating MX-records
- Manage MX Records: Remove default servers and add Zoho Mail MX records with specified priorities.
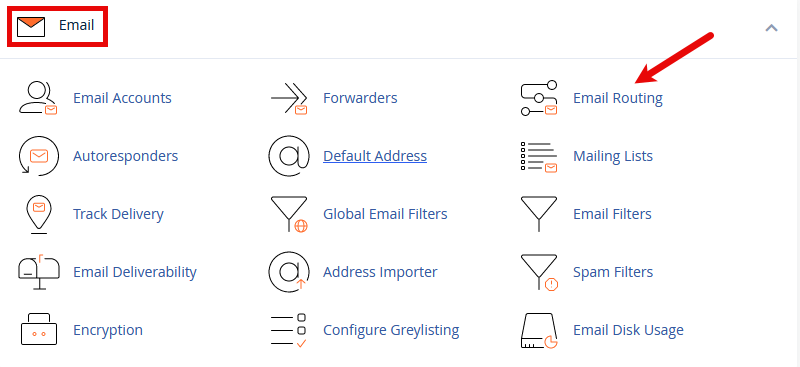
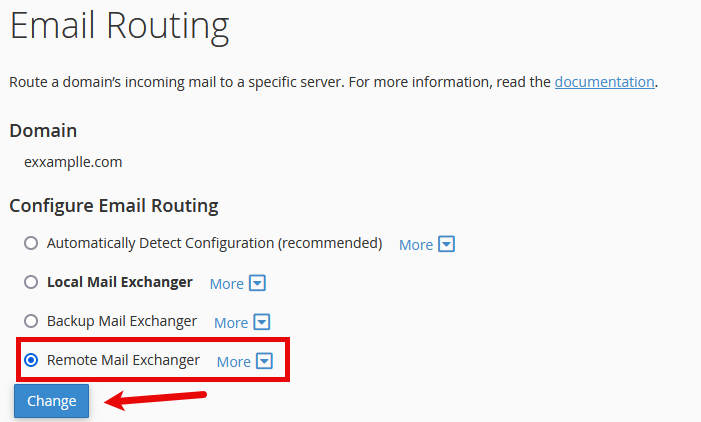
f. Email Routing Update
- Select Routing Option: In "Email Routing," choose "Remote Mail Exchanger."
Important Notes:
-
The TTL (Time To Live) is the period for which servers can cache the information of your DNS records. The suggested value is 1 Hour, but it can be set according to your preferences or your DNS provider's default settings.
-
Ensure that you replace placeholders like
@,(selector),[YOUR_DKIM_VALUE], andzb******with the actual values relevant to your domain and the specific instructions provided by Zoho during your setup process. - Note on Propagation: DNS changes may take time to propagate.