
How to Set Up Your cPanel Email Account in Windows 10 Mail
Setting up an email account that's hosted on cPanel in the Windows 10 Mail app requires a bit of attention to detail, especially when it comes to entering server settings manually. Don't worry, though—I'm here to guide you through each step of the way, ensuring a smooth setup process. Let's get started!
Gather Your Email Account Details
- Email address
- Password
- Incoming (IMAP or POP3) server settings
- Outgoing (SMTP) server settings
You can find these details under the Email section in your cPanel by selecting "Email Accounts," and then "Connect Devices" or "Mail Client Configuration" next to your email account.
Open Windows 10 Mail App
Click on the Start menu, type "Mail" into the search bar, and open the Mail app. This is your gateway to adding and managing your email accounts.

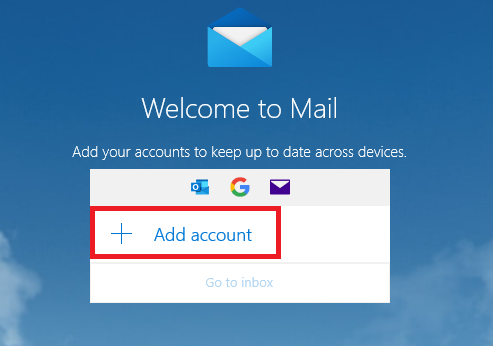
Add Account
If it's your first time with the Mail app, it'll prompt you to add an account. Otherwise, navigate by clicking on the gear icon at the bottom left to open Settings, select "Manage Accounts," and then choose "Add account."
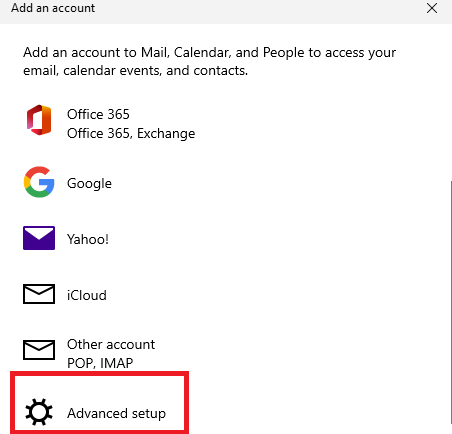
Choose "Advanced Setup"
In the "Add an account" window, scroll down and select "Advanced setup" for manual email setting entries.
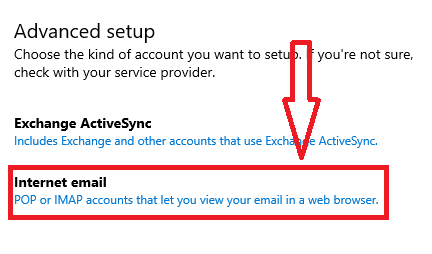
Select Account Type
Opt for "Internet email" for accounts requiring manual email settings entry.
Enter Account Details
Fill in the following fields with your cPanel email account details:
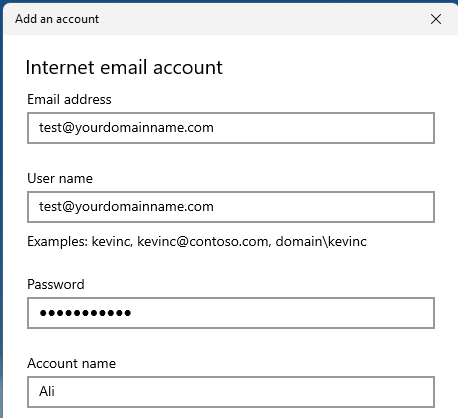
- Email address: Your full email address.
- Username: Typically, your full email address again.
- Password: Your email account's password.
- Account name: Name the account to easily identify it in the Mail app (e.g., "Work Email").
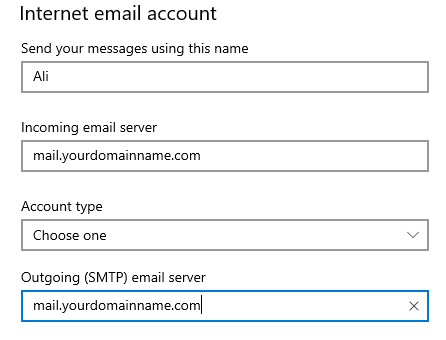
- Send your messages using this name: The name you want recipients to see.
- Incoming email server: Provided by cPanel (e.g., mail.yourdomain.com). Prefer IMAP4 for syncing across devices.
- Account type: Choose IMAP4 or POP3. IMAP is recommended.
- You can find the detailed article on IMAP vs POP here: https://intohost.com/kb/pop-vs-imap

- Outgoing (SMTP) email server: Often the same as the incoming server, provided by cPanel.
Configure Additional Settings
Ensure to check the following based on your cPanel email configuration:
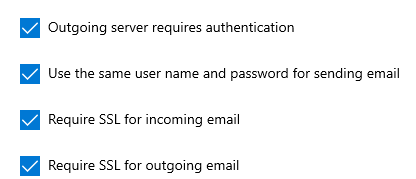
- "Outgoing server requires authentication"
- "Use the same username and password for sending email"
- "Require SSL for incoming email" and "Require SSL for outgoing email", if necessary.
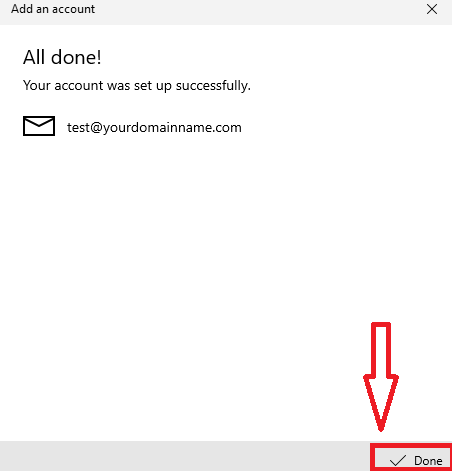
Complete the Setup
Click "Sign in" followed by "Done." Congratulations, your cPanel email account is now added to Windows 10 Mail!
Test Your Setup
Send a test email to ensure everything is working as expected. Check both sending and receiving functionalities.
If problems persist, it might be a good idea to revisit your cPanel settings or reach out for help. Remember, if you encounter any issues, please open a support ticket here or initiate a LiveChat session using the icon located at the bottom right of the screen. For enhancing your email experience, consider our professional email service at intoHOST Email Hosting.
Looking for more information or need further assistance? Check out our comprehensive guides on setting up new email accounts, accessing webmail, or configuring email on various devices at our Knowledge Base on intoHOST.